
Getting perfect jerky starts long before the dehydrator- it begins with how you prep your slicer. If the blade isn’t sharp, you’ll struggle with ragged cuts and uneven strips.
That’s not just frustrating, it’s unsafe. Spot the early signs of a dull blade, follow safe sharpening steps, and keep it in top shape. Trust me- once you master this, every jerky batch gets easier, faster, and way more satisfying.
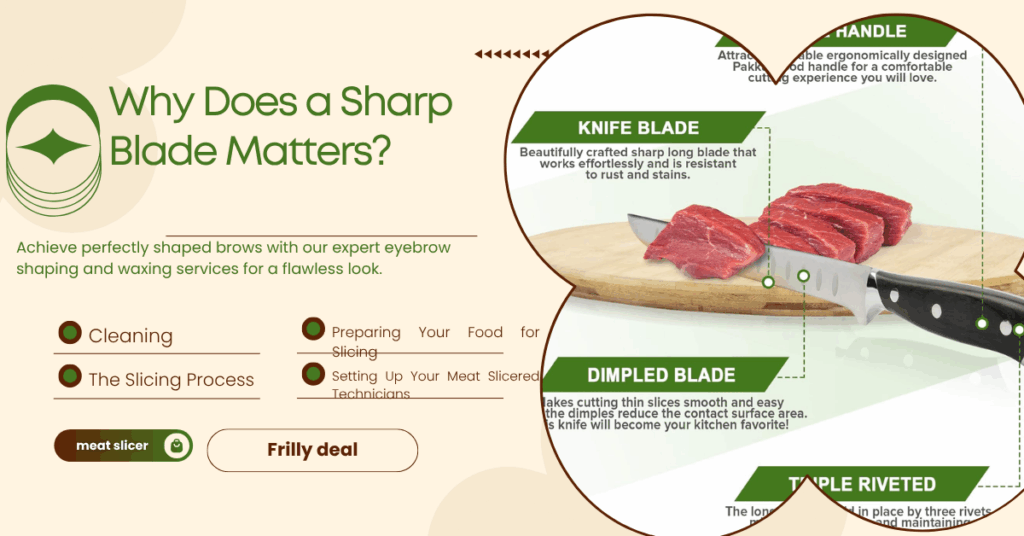
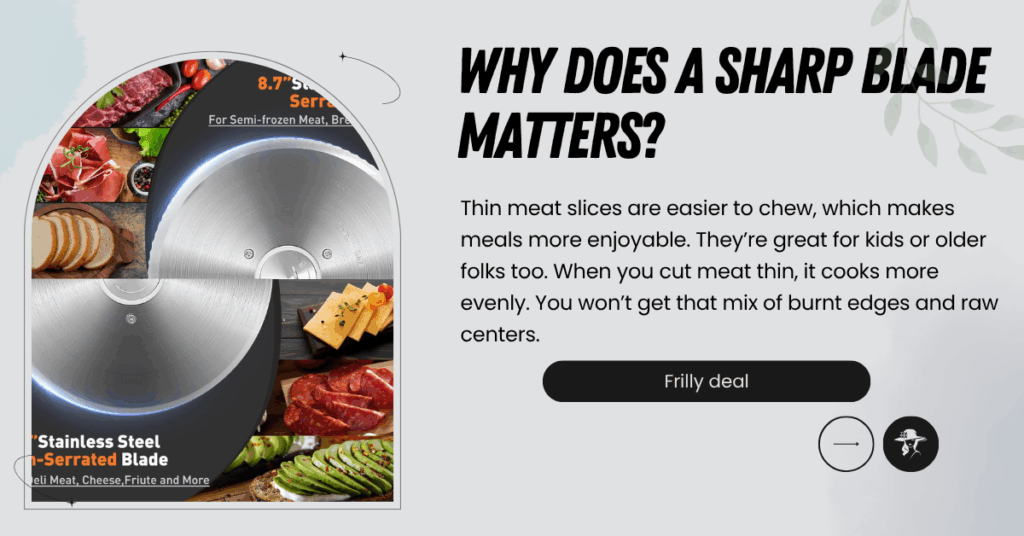
Why Does a Sharp Blade Matters?
Keeping your meat slicer blade sharp isn’t just about better cuts- it’s also about safety. A dull blade makes you press harder, which can lead to slips or uneven slices.
When your blade is sharp, slicing becomes smoother, faster, and much easier on your hands.
Signs Your Blade Needs Sharpening
Every meat slicer needs sharpening, it doesn’t matter if it’s the best meat slicer or a normal one. Watch for these clues:
- The meat starts to tear instead of slicing cleanly. This means the blade isn’t slicing- it’s pulling.
- You’re pushing harder than usual. If slicing feels like work, the blade is likely dull.
- The cuts look ragged or uneven. Thin slices might bunch up or look shredded.
If you notice one or more of these, it’s time to sharpen your blade.
Safety First: Before You Start
- Unplug the slicer. This is the first and most important step.
- Wear cut-resistant gloves if you have them. It’s extra protection for your hands.
- Handle the blade with care. Even a dull blade can cut you.
What You’ll Need
Gather your tools before getting started:
- A damp cloth or paper towels
- Mild soap or slicer-safe cleaner
- Sharpening stone, if your slicer came with one
- A small brush (optional, for cleaning hard-to-reach spots)
Step-by-Step Guide to Sharpening
1. Unplug and Clean: Wipe the blade and nearby parts with a damp cloth. Remove all food particles.
2. Find the Sharpening Stone: If your slicer has one built in, it should have two grinding wheels. Check your manual if you’re unsure.
3. Position the Blade: Rotate the blade into place so it touches the sharpening stone. Make sure it’s lined up the right way.
4. Start the Slicer Briefly: Turn it on for 5 to 10 seconds. Don’t press- let the stone do the work.
5. Flip and Repeat: If your sharpener works on both sides or needs flipping, repeat the short grind on the other side.
6. Clean Again: Unplug the slicer. Wipe away all metal dust. Use a damp cloth and take your time.
7. Test the Blade: Plug it back in and try slicing a small piece of meat. It should glide through easily.
Tips for Keeping Your Blade Sharp
- Sharpen it regularly. Just a few seconds each time can help.
- Clean your slicer after every use. Dried meat can dull the edge.
- Avoid bones and frozen items. These can chip or blunt the blade fast.
A little care goes a long way in keeping your slicer sharp, safe, and ready to use.